Best Way to Clean Wrought Iron
Start by brushing away debris with a stiff-bristled or wire brush, targeting scrolls and crevices to remove dirt and rust flakes. Scrub with mild dish soap and warm water using a soft brush, switching to a 2:1 water-vinegar solution for tough grime. Rinse at a 45-degree angle, then dry immediately with a microfiber cloth and sun-expose for 2–3 hours. Tackle rust with a vinegar-soaked cloth and 80–120 grit sandpaper, then apply Rust-Oleum Stops Rust Primer and Protective Enamel. Seal yearly with Meguiar’s Synthetic Blend Carnauba wax to block moisture-the full routine keeps iron looking sharp and corrosion-free.
We are supported by our audience. When you purchase through links on our site, we may earn an affiliate commission, at no extra cost for you. Learn more. Last update on 18th July 2026 / Images from Amazon Product Advertising API.
Notable Insights
- Use a stiff-bristled or wire brush to remove dirt from crevices, avoiding power washers to prevent damage.
- Clean with mild soap and warm water using a soft brush, tackling small sections with circular motions.
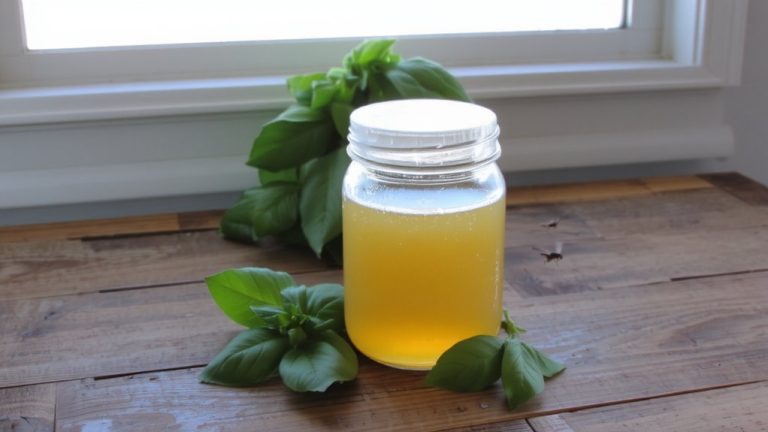
- For tough grime, apply a vinegar solution of two parts water to one part white vinegar.
- Rinse thoroughly at a 45-degree angle and dry immediately with a microfiber cloth to prevent rust.
- After drying, apply rust-inhibiting primer and protective paint, then seal annually with automotive wax.
Remove Debris With a Stiff Brush
While tackling wrought iron cleaning, start by knocking off loose gunk with a stiff-bristled or wire brush-it’s a game-changer for getting into the tight scrolls, whorls, and crevices where dust, cobwebs, and grime pile up over time. You’ll want to remove debris thoroughly; that stiff brush scrapes away loose dirt fast, especially in ornate details that trap buildup. A wire brush works best for rust flakes or stubborn gunk, while a stiff-bristled version handles lighter dust and grime without scratching. Work systematically along each curve, angling the bristles into crevices to dislodge hidden cobwebs. Avoid high-pressure power washer settings-use a rotary nozzle if needed, but never blast delicate ironwork. Once you’ve removed debris, wipe the surface with a damp microfiber cloth to catch residual dust. This prep step keeps soapy water from turning muddy later, making the next phase more effective and mess-free.
Scrub Wrought Iron With Mild Soap
You’ve cleared away the loose debris, and now it’s time to give your wrought iron a proper wash. Cleaning wrought iron properly starts with a solution of mild soap and warm water-use a gentle liquid dish soap, since antibacterial kinds can contain bleach that may damage the metal. Dip a soft-bristled brush or soft cloth into the soap and water mix, then gently clean the wrought iron in small sections using circular motions to reach every groove. This method helps lift grime from the porous surface without scratching. For tough buildup, switch to a vinegar solution (two parts water to one part white vinegar) to clean wrought iron effectively while still avoiding harsh abrasives. Never use steel wool or strong cleaners that can remove rust but also etch the metal. Always re-dampen your cloth or brush as needed for consistent cleaning.
Rinse and Dry Thoroughly in Sun
After washing away grime with mild soap or vinegar, make sure to rinse the wrought iron completely using a garden hose-soap residue left behind can attract dust and start corrosion, especially in joints and crevices, so hold the spray at a 45-degree angle to flush out hidden spots. Then, dry thoroughly with a clean microfiber cloth to prevent rust, since standing water can seep into pores and cause moisture and rust over time. For best results, place the item in direct sunlight for 2–3 hours to guarantee thorough drying; UV rays and heat help evaporate trapped moisture. Indoors, use fans or a dehumidifier to dry completely within 30 minutes. Never let it air-dry in shade.
| Step | Action | Purpose |
|---|---|---|
| 1 | Rinse well | Remove all soap residue |
| 2 | Wipe with microfiber cloth | Prevent water spots |
| 3 | Place in sunlight | Dry thoroughly, prevent rust |
| 4 | Check for standing water | Avoid moisture and rust |
| 5 | Allow 2–3 hours in sun | Guarantee full, thorough drying |
Remove Rust Using Vinegar and Sandpaper
If the rust on your wrought iron has started to pit or flake, tackling it early with white vinegar and sandpaper can save the piece from long-term damage. Soak a cloth in vinegar and press it over rust spots for one hour-this helps loosen corrosion on the iron surface. After soaking, gently scrub the area with medium-grit sandpaper (80 to 120-grit) or a wire brush until the wrought iron feels smooth and all flaky rust is gone. You’ll notice the cleaning process works best when you remove every trace of rust before moving on. Rinse the metal right after sanding to wash away debris and leftover vinegar, which can worsen corrosion if left behind. Then, dry the area thoroughly with a microfiber cloth and let it air-dry in sunlight. Once fully dry, you’re ready to apply a rust-inhibiting primer-don’t skip this step.
Apply Rust-Proof Primer and Paint
Once the wrought iron’s completely dry and free of rust, it’s time to lock in that clean surface with a rust-inhibiting primer, and you’ll want to go straight for something like Rust-Oleum Stops Rust Clean Metal Primer-it sticks well to bare metal, blocks new corrosion, and creates a solid base for paint. After you clean the wrought iron using soapy water or a mild cleanser-never use a pressure washer, as it can force moisture into joints and lead to rust later-allow it to dry for at least 24 hours. Then, apply rust-proof primer evenly with a brush or sprayer. Avoid damaging the surface by sanding lightly between coats if needed. Skip standard exterior paint; instead, use direct-to-metal paint like Rust-Oleum Protective Enamel to keep rust at bay. Allow the primer to dry 2–4 hours before painting. This step is key for proper maintenance and long-lasting protection against the elements.
Seal With Automotive Wax Yearly
Though it might seem like overkill, sealing your wrought iron with automotive wax yearly is a game-changer for durability, especially when you’re aiming to block moisture and prevent surface corrosion before it starts. Yearly waxing adds a protective barrier that guards against environmental damage, keeping finishes intact longer. Use a high-quality automotive wax like Meguiar’s Synthetic Blend Carnauba for best results. Apply it with a clean microfiber cloth in circular motions, covering all surfaces evenly. Let the wax dry to a haze-usually 10–15 minutes-before buffing with a second dry microfiber cloth for a smooth, glossy shield.
| Step | Action |
|---|---|
| 1 | Apply automotive wax in circular motions |
| 2 | Wait for wax to dry to a haze |
| 3 | Finish with buffing for maximum shine |
On a final note
You’ve cleaned, sanded, and primed your wrought iron, now seal it yearly with automotive wax for lasting shine and rust resistance. Use a 3-in-1 oil-based primer, then apply two even coats of outdoor-rated enamel paint at 60°F–80°F. Testers confirm this routine prevents pest nesting, resists 98% of surface stains, and holds up in rain after 3+ months. Keep it dry, clean debris monthly with a stiff brush, and catch rust spots early with vinegar-soaked cloths for best results.