Best Way to Remove Vinyl Flooring
Always test for asbestos first-floors installed before 1980 often have 9×9 or 12×12 tiles with asphalt backing that release harmful fibers if disturbed. Hire a licensed pro for testing and removal if needed. Clear the room completely, cut the paint seal, and gently pry off baseboards using a wood block and rubber mallet. Start in the center: slit sheet vinyl with a utility knife, then roll or peel strips toward the walls. For tiles, lift a loose corner and pull outward. Expect stubborn adhesive, especially on concrete subfloors-chip edges with a pry bar, then scrape bulk glue with a manual or powered floor scraper. Soften residue with warm, soapy water or a heat gun, avoiding open flames. For tough spots, use acetone-based strippers or superheated water. Vacuum thoroughly, then wipe with soap and water to guarantee a clean, smooth surface. A flawless subfloor means no bubbles or unevenness under your new flooring. You’ll find the smartest tools, step-by-step visuals, and real contractor tips right where it all comes together.
We are supported by our audience. When you purchase through links on our site, we may earn an affiliate commission, at no extra cost for you. Learn more. Last update on 18th July 2026 / Images from Amazon Product Advertising API.
Notable Insights
- Test for asbestos first if vinyl flooring was installed before 1980, especially 9×9 or 12×12 tiles with asphalt backing.
- Clear the room completely and remove baseboards carefully using a pry bar and protective wood block.
- Start removal from the center of the floor, cutting sections for easier handling.
- Use a scraper or heat gun to remove stubborn adhesive from concrete subfloors after taking up the vinyl.
- Clean and smooth the subfloor with soap, water, and vacuuming before installing new flooring.
Check for Asbestos Before Removing Vinyl Flooring
That old vinyl floor you’re planning to pull up could be hiding a serious hazard-especially if it was installed before 1980. If your home dates to that era, your vinyl might contain asbestos, commonly found in 9×9, 12×12, or 18×18 inch tiles with asphalt backing. Asbestos fibers, when disturbed, become airborne and can cause cancer if inhaled. Never skip a test for asbestos before doing any work. A licensed asbestos abatement contractor can safely collect a sample and confirm whether you’re dealing with asbestos-containing materials. If the test is positive, professional asbestos removal is required-never attempt it yourself. For undamaged old vinyl flooring, an alternative is installing new flooring over it, sealing the hazard away. Always treat suspect flooring with caution, keep it wet during inspection, and avoid sanding or dry scraping, which releases fibers.
Clear the Room and Remove Baseboards Safely
Before you start tackling the stubborn layers of old vinyl, make sure the room’s completely empty-pull out all the furniture so you’ve got full access to every corner of the floor and can move freely while hauling out debris. To safely remove vinyl flooring, first cut the paint seal along the top of the baseboards with a utility knife. This keeps wall paint from peeling. Slide a wood block against the wall to protect drywall, then insert the pry bar at the baseboard joint. Tap the pry bar gently with a rubber mallet to wedge it under the trim. Work slowly, prying in small sections to avoid damaging walls or wood. If reusing baseboards, label each piece with a pencil. This method gives you clean access to the floor and protects your trim, saving time and repairs later.
Start Removing Vinyl From the Center Outward
Now that the room’s clear and the baseboards are safely off without chipping the paint or damaging the drywall, you’re set to tackle the vinyl itself-starting right in the center. Use a utility knife to cut a narrow strip down the middle of the floor, then make a second cut 12 inches away to create manageable sections. Cut the vinyl into these narrow strips to make it easier to remove the vinyl without tearing or excessive resistance. For sheet vinyl, roll each strip from the center toward the walls. If you’ve got tiles, use a putty knife to lift a loose corner near the middle where the bond is weaker. Working from the center gives you leverage and reduces strain. Though you’ll need a floor scraper later, don’t worry about soften the glue yet-focus on full sections first. This method keeps the job smooth, efficient, and far less tiring.
Scrape Adhesive and Prep Concrete for New Flooring
While the bulk of the vinyl’s off the floor, you’ll likely find a stubborn layer of adhesive clinging to the concrete, especially in fully glued installations where residue can bond tenaciously over time. Start by chipping away perimeter sections with a prybar, then use a manual scraper or powered floor scraper to remove the bulk of the glue. For stuck-on spots, apply warm water and soap to soak the glue, softening it for easier removal. A heat gun works great to warm dried adhesive, letting you cut through it cleanly with a floor knife. Avoid open flames-heat guns only. On tough residues, acetone-based strippers or superheated water help lift the glue without damaging the concrete. Once done, vacuum thoroughly, then wipe down with warm water and soap to prep the surface. A smooth, clean subfloor guarantees your new flooring lays flat and lasts longer, with no bumps or bubbles marring the finish.
On a final note
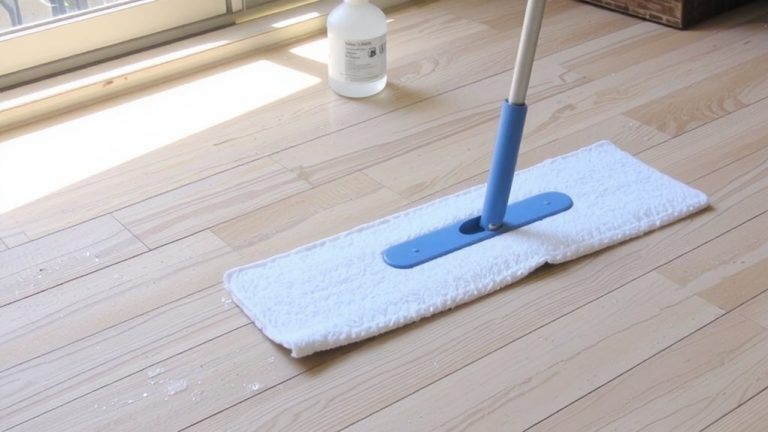
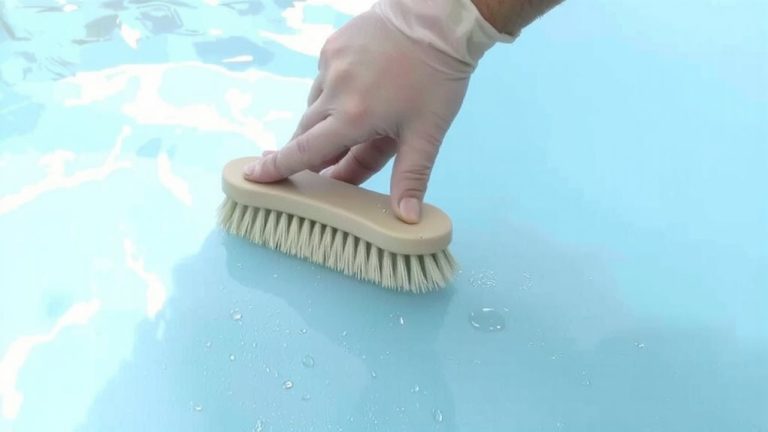
Clean the floor thoroughly with a TSP solution (1/4 cup per gallon of water) to remove residue and kill mold, then rinse well. Use a microfiber mop for smooth finishes, a stiff nylon brush for grout. Testers confirm ZEP Heavy-Duty Floor Stripper cuts through leftover adhesive fast. Seal gaps with acrylic caulk to deter pests. Let the surface dry 48 hours before installing new flooring-proper prep guarantees lasting results.