Best Way to Remove Tile From Concrete
Use an air chisel with a wide blade to quickly break up thinset-bonded tile, cutting labor time in half versus hand scraping. Moisten tiles first to reduce dust, then angle a chisel at 45 degrees to fragment them cleanly. For mastic or thinset residue, rent a floor scraper or use an angle grinder with a diamond disc-ideal for stubborn adhesive. Grind high spots over 3/16″ with a cup wheel and vacuum attachment, then finish with an 80-grit aluminum oxide belt sander for a smooth, flat base. Proper prep means less lippage and better adhesion when you lay new flooring-skip the shortcuts and get it right the first time. There’s more to mastering each step efficiently.
We are supported by our audience. When you purchase through links on our site, we may earn an affiliate commission, at no extra cost for you. Learn more. Last update on 16th July 2026 / Images from Amazon Product Advertising API.
Notable Insights
- Use an air chisel with a wide blade to efficiently remove thinset-bonded tiles and reduce labor time.
- Score tile edges at a 45-degree angle with a chisel bit to safely fragment and loosen tiles.
- Rent a floor scraper or pole chipper for large areas to speed up tile and adhesive removal.
- Grind down thinset ridges over 3/16″ high using a cup grinder with vacuum to ensure a flat surface.
- Apply chemical mastic remover and scrape residue after testing, or use a belt sander for final smoothing.
Choose the Right Tools to Remove Tile From Concrete
When it comes to removing tile from concrete, picking the right tools can make the difference between a weekend well spent and one you’d rather forget. To remove tiles from concrete efficiently, you’ll want tools that match your adhesive type and floor size. For thinset-bonded tile, an air chisel with a wide blade cuts labor time dramatically, while a pole chipper offers similar speed but demands more effort. When dealing with stubborn mastic, you’ll want to use an angle grinder with an abrasive disc-it’s precise and powerful. Rent a floor scraper for large areas, like a 50 sq.ft. bathroom, to speed things up. You can also use a belt sander with an 80-grit aluminum oxide belt for thinset, completing a full pass in just over 2 hours. For tough spots, a Diamond Blade helps grind residues cleanly off concrete.
Break and Remove Tiles Without Damaging the Subfloor
Though working carefully matters most, you’ll save time and avoid costly subfloor repairs by tackling tile removal with the right technique from the start. To break and remove tiles without damaging the subfloor, begin by moistening tiles with water-this reduces dust and makes them more brittle, so they crack cleanly. Position a chisel bit at a 45-degree angle along the tile edge and tap with a hammer to score and fragment the material. Use an angle grinder with a diamond blade in a small test area first to cut through tough adhesives while protecting concrete. Then, gently lift broken tiles with a pry bar, especially where bonds are weak, to prevent chipping. Always wear safety gear like goggles and gloves to guard against debris and slips. These steps make it easier to remove tile from concrete efficiently and safely.
Remove Thinset and Mastic From Concrete Surfaces
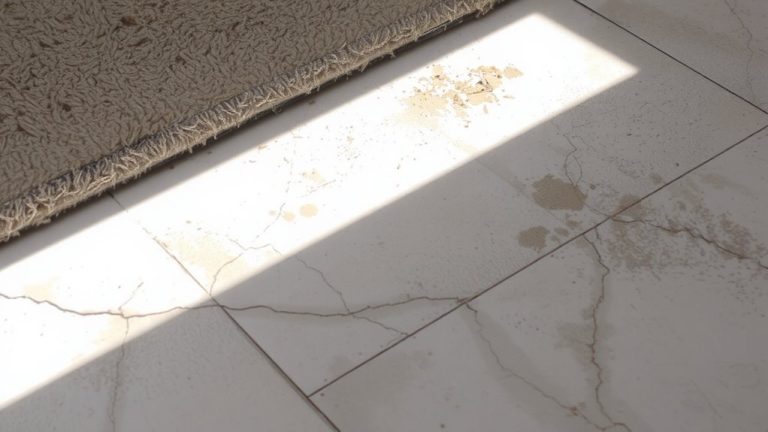
A clean, prep-ready concrete surface starts with tackling leftover thinset and mastic, and skipping the shortcuts pays off when you’re aiming for a smooth finish. To remove stubborn residues, use a grinder with a cup wheel and vacuum attachment-it handles 3/16″ ridges fast, where sanding falls short. For old mastic under floor tiles, apply a chemical remover after testing a small area, then scrape it off with a floor scraper. On large jobs, rent a floor scraping machine-it cuts time versus chiseling by hand. Lightly wet the surface before grinding or scraping to reduce dust and prevent tool overheating. Always follow safety precautions: wear a respirator, gloves, and eye protection, especially when using the right chemical solutions or muriatic acid. Using the right tools makes it easier to remove thinset or mastic efficiently and safely.
Grind and Smooth the Concrete for a Flat Base
You’ve cleared away the old mastic and scraped off the bulk of the leftover thinset, so now it’s time to get the surface ready for what comes next-grinding down those stubborn ridges and scoring high spots to create a flat, reliable base. Use a cup grinder with a vacuum attachment to tackle high spots, especially areas with rigid adhesives that resist scraping. For large areas-like when you remove old tile from concrete floors-a floor scraper or angle grinder with a diamond disc works faster than trying to use a hammer and chisel. Make certain you grind down any ridges over 3/16″ high to prevent lippage. Afterward, take an 80-grit aluminum oxide belt on a belt sander for a final smoothing pass. This guarantees the base is ready, flat, and free of debris that could interfere with adhesion.
Prepare the Subfloor for New Tile or Flooring
Now that the worst of the old tile and adhesive is gone, it’s time to get your concrete subfloor into shape so it’s ready for Ditra or any new flooring. Removing tiles can leave behind thin-set ridges up to 3/16″ high, which must be smoothed-use a cup grinder with a vacuum to safely and effectively grind down high spots. For stubborn residue, consider skim coating with thin-set instead of chiseling; it’s less labor and works well depending on the size of the remaining adhesive. Fully remove all grout, tile fragments, and debris-especially when installing porcelain tiles over Ditra-to prevent lippage. For uneven areas, apply primer and a self-leveling compound. Though tile from a concrete slab takes a lot of work to prep, proper surface prep guarantees lasting results.
On a final note
You’ve stripped the tile, now clean the concrete with a degreaser and 200-grit sandpaper to remove residue, aiming for a smooth, level base. Test for mastic with a putty knife-any sticking means more scraping. Use a shop vac, not a broom, to eliminate dust. For stains, try TSP solution; it cuts grime fast. If pests lurked under old tile, apply disinfectant. A flat, clean floor guarantees your new tile bonds right.