Best Way to Remove Tile Backsplash
Start by turning off electricity and water, then lay plastic sheeting and cardboard to catch debris. Use painter’s tape on outlets and pop drain stoppers in. Test tile adhesion with a 6-in-1 tool and light hammer taps-check for mastic or thinset behind a loose tile. Score grout lines with a utility knife, cut sealant with an oscillating tool, and gently pry tiles with a flat pry bar. Keep the tool flush to avoid drywall damage. Repair holes with joint compound, larger ones with a patch and backing, then apply primer-this smooth finish sets you up for what’s next.
We are supported by our audience. When you purchase through links on our site, we may earn an affiliate commission, at no extra cost for you. Learn more. Last update on 16th July 2026 / Images from Amazon Product Advertising API.
Notable Insights
- Protect your kitchen by laying plastic on floors, covering countertops with cardboard, and taping over outlets and edges.
- Shut off power and water, then test tile adhesion using a painter’s tool and light hammer taps.
- Score grout lines with a utility knife or oscillating tool to minimize drywall damage during removal.
- Use a flat pry bar with light hammer taps, starting from a hidden tile to safely loosen bonded tiles.
- Repair drywall by removing debris, patching damage, applying joint compound, and priming before new installation.
Protect Your Kitchen Before Backsplash Removal
Before you start prying off old tiles, take a few smart precautions to keep your kitchen safe and clean throughout the removal process. Lay plastic sheeting or drop cloths on the floor and tape them down securely to catch debris and dust. Use cardboard to protect countertops, fastening it with painter’s tape to prevent scratches from tools and falling chunks. Apply painter’s tape over electrical outlet covers to shield them from chips and grime. Always shut off electricity at the breaker and turn off water supply lines-this simple step prevents shocks or leaks near outlets and plumbing. Pop sink drain stoppers in place to block tile fragments and grout from clogging pipes. These safety precautions, like covering surfaces and using the right barriers, save time and hassle. Protecting every area with drop cloths, cardboard, and tape keeps your space clean, reduces cleanup cost, and avoids unnecessary repairs.
Test Tile Adhesion and Check Installation Type
Now that you’ve shielded your countertops, floors, and outlets, it’s time to get a feel for how tightly those tiles are holding on. Start by using a 6-in-1 painter’s tool and light hammer taps to test tile adhesion-try removing a loose edge tile to gauge bond strength. This test removal helps predict how tough the full kitchen tile backsplash removal will be. Check installation type by peeking behind outlets or near cabinets to see if tiles are on drywall or cement board. Pry a tile gently to examine the tile adhesive-mastic, thinset, or even Liquid Nails-while noting residue and whether paint or primer layers exist underneath. These layers often act as a barrier, making tile removal easier and reducing drywall damage. Always test in a hidden spot, like behind the stove, before going full scale.
Pry Off Tiles Without Harming Drywall
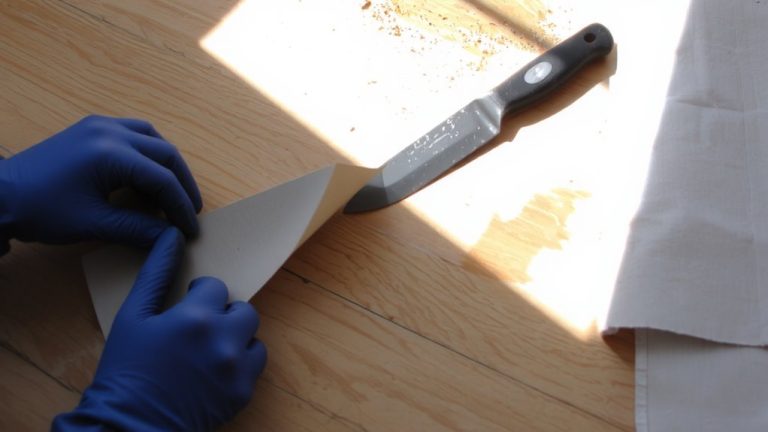
While you’re prepped with safety gear and tools, getting tiles off without tearing up the drywall comes down to technique and the right angle. To Remove Tile Backsplash safely, wear safety glasses and score grout lines with a utility knife or oscillating multi-tool. This cuts through sealant and reduces stress on the drywall. Use a hammer gently with a pry bar, keeping it flat to avoid gouges. Begin by removing one tile from a hidden edge to test adhesion. If bonded tightly, isolate it with an oscillating multi-tool before prying.
| Tool | Purpose | Tip |
|---|---|---|
| Pry bar | Pry tiles | Keep flush to wall |
| Utility knife | Score grout | Reduces adhesive drag |
| Oscillating multi-tool | Cut around tile | Prevents drywall tears |
| Hammer | Tap pry bar | Use light, controlled hits |
| Drywall joint compound | Future repair | Save for skim coat later |
Repair Walls After Tile Backsplash Removal
Once the last tile’s off and you’ve swept up the bulk of the debris, it’s time to get the wall ready for its comeback. Start by inspecting the drywall behind the tile-if it’s damaged, you’ll need to scrape away loose material and old adhesive. For small holes or shallow scrapes, use joint compound (often called drywall mud) and a knife and drywall to apply thin, even layers. Larger areas may need a drywall patch with backing strips nailed to studs. Tape seams, then apply compound, letting each coat dry before sanding smooth. Two coats are usually best for repairing the wall evenly. After sanding, wipe the surface clean. Finish by applying two coats of primer to seal the repair and guarantee strong, uniform adhesion when you install new tile.
On a final note
Clean the floor and surfaces with a degreasing cleaner like Krud Kutter, wiping grout residue with a damp microfiber cloth, 18-inch putty knife scrapes tough spots easily, work in sections using a shop vac for dust, avoid ammonia-based products near natural stone, testers confirm Dawn Powerwash handles adhesive stains best, and seal any drywall cracks post-cleanup to deter pests, a final pass with Swiffer WetJet guarantees a spotless, smooth surface ready for remodeling.