Best Way to Remove Tile Adhesive
First, check your wall for cracks or loose plaster and wear safety goggles, gloves, and a respirator. Use a £30 handheld steam cleaner for 15–20 seconds per spot to soften adhesive without damaging plasterboard, then dampen stubborn residue with warm water. Scrape with a 4” QEP Floor And Wall Razor Scraper at a low angle to avoid gouging. Repair cracks with cement-based or gypsum patch, feather edges, and prime with Topps Tile Primer-next steps reveal how to guarantee a flawless, level base.
We are supported by our audience. When you purchase through links on our site, we may earn an affiliate commission, at no extra cost for you. Learn more. Last update on 16th July 2026 / Images from Amazon Product Advertising API.
Notable Insights
- Inspect the wall for damage and wear protective gear to ensure safety during adhesive removal.
- Use a handheld steam cleaner to soften dried adhesive, working in small sections to prevent plaster damage.
- Apply warm water to stubborn residues, allowing time for saturation to weaken the bond naturally.
- Scrape adhesive with a 4” razor scraper at a low angle to avoid substrate gouging.
- Repair and level the surface, then prime with acrylic-based primer before tiling for optimal adhesion.
Assess Wall Condition and Prioritize Safety
Before you start scraping or steaming, take a close look at the wall to make sure it’s ready for adhesive removal, because working on damaged or unstable surfaces can lead to bigger problems down the line. Inspect the wall for damage like cracks, bubbling plaster, or weak spots, especially on a plasterboard wall, since moisture or pressure can worsen existing issues. If you’re planning to remove old tile or tackle stubborn adhesive residues, stability is key. Always wear safety goggles, gloves, a respirator, and long sleeves-dust and chemical exposure are real risks. Test your method in a small area first to avoid unintended harm. Guarantee proper ventilation when using solvents like Goof Off or WD40. Smart prep means safer, smoother adhesive removal and better results when cleaning floor and surfaces.
Use Heat or Water to Soften Tile Adhesive
While you’re dealing with dried tile adhesive, applying heat or moisture can save you serious effort by breaking down the bond without damaging the underlying surface. If you’re working on a small area, a handheld steam cleaner-typically priced £25–£50-works great for softening old tile adhesive; just apply steam for under 20 seconds per spot to avoid plaster blowout. The heat loosens the adhesive fast, making it easier to Remove later. Alternatively, dampen the adhesive with warm water and let it sit; the saturation time breaks down bond strength naturally. Work in small sections to prevent the adhesive from rehardening before you scrape. This method is efficient, especially on fragile substrates, and keeps your surface intact while prepping it for refinishing. Both steam and warm water offer controlled, reliable softening with minimal risk.
Scrape Off Softened Adhesive Using the Right Tools
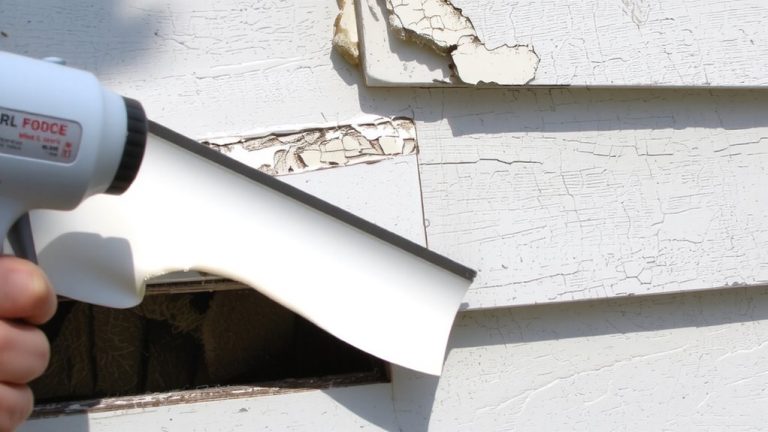
A 4” multi-purpose scraper or QEP 4 Floor And Wall Razor Scraper is your best bet for clearing softened adhesive efficiently, and when you hold the blade at a low, sharp angle against the surface, you’ll slice through residue cleanly without gouging the substrate. Work in small sections after using warm water or steam-this keeps old adhesive soft long enough to remove adhesive effectively, especially on a flat surface. Apply steady pressure with the blade parallel to the wall to lift sticky mastic, common with peel and stick tiles. Limit steaming to under 20 seconds on plasterboard to avoid moisture damage. For the best way to remove Tile Adhesive, combine physical scraping with quality adhesive removers when needed. Always wear gloves and a mask to protect against dust and chemical residue. This method guarantees a clean, even base-critical before tiling.
Repair and Level the Surface for Tiling
Now that you’ve scraped away the old adhesive and cleared the surface, it’s time to focus on making the substrate solid and flat for your new tile. After you removed the tile adhesive, inspect for cracks or damage-repair and level the surface using a cement-based patch for concrete or a gypsum-based joint compound for plasterboard. Apply a small patch to low spots, feathering edges to avoid the risk of gouging during tiling. Use a diamond cup wheel grinder to level stubborn adhesive ridges, guaranteeing flatness within 1/8 inch over 10 feet. This prevents lippage and guarantees strong bond strength. Vacuum thoroughly, then wipe with a damp cloth to remove dust. Finally, prime the repaired surface with an acrylic-based tile primer like Topps Tile Primer to seal pores and improve adhesion-creating a durable, flat base for tiling adhesive without future issues.
On a final note
You’ve got this-just grab a scraper, apply heat or water to soften stubborn tile adhesive, and work in sections for best results. Use a 4-inch putty knife for precision, and don’t skip the prep: clean with isopropyl alcohol to remove residue, guarantee the surface is level, and patch cracks with patching compound. Testers confirm: 3M Adhesive Remover cuts grime fast, reduces scrubbing by 60%, and leaves no film. Perfect prep means lasting tiles.