Best Way to Remove Drywall Dust Before Painting
Wipe down walls with a microfiber cloth on a broom handle, then vacuum every surface using a HEPA-filter vacuum with a brush attachment-this captures fine silica dust that regular vacuums miss. Afterward, mist the walls evenly with a $10 garden sprayer to rebind residual dust into the compound without oversaturating. Let dry completely before priming. You’ll get a smooth, paint-ready surface, and there’s more to get right if you want flawless results.
We are supported by our audience. When you purchase through links on our site, we may earn an affiliate commission, at no extra cost for you. Learn more. Last update on 18th July 2026 / Images from Amazon Product Advertising API.
Notable Insights
- Use a HEPA-filter vacuum with a brush attachment to safely capture fine drywall dust without spreading it.
- Mist walls evenly with a garden sprayer to dampen dust, rebind it to the surface, and prevent airborne particles.
- Work from top to bottom-ceilings, walls, baseboards, then floors-to collect falling debris efficiently.
- Seal the work area with plastic sheeting and tape to contain dust and protect indoor air quality.
- Wear a NIOSH-approved P100 respirator and safety goggles to protect against harmful crystalline silica exposure.
Remove Drywall Dust for a Smooth Paint Job
While you’re prepping for a flawless paint job, tackling drywall dust the right way makes all the difference. For effective Drywall Dust Removal, start by using a HEPA-filter vacuum with a brush attachment-it won’t clog like regular vacuums and captures fine particles from walls and ceilings. Never use damp rags; excess moisture causes the drywall compound absorbs water, which softens seams and creates uneven surfaces. Instead, lightly mist walls with a paint sprayer; the mist lets the compound absorb just enough moisture to trap dust without damage. Always clean the walls from top to bottom-ceilings first, then walls, baseboards, and floors-to catch falling debris. Test cleanliness under bright light and with a quick hand swipe. When no grit sticks and the surface looks smooth, you’re ready to prime-no residue, no streaks, just a clean, professional finish.
Protect Yourself From Drywall Dust Hazards
You’ve cleaned the walls, misted away the fine particles, and checked every corner for dust-now it’s time to focus on your safety during this process. Drywall dust isn’t just messy; it contains crystalline silica, which OSHA warns can cause silicosis and long-term lung damage when inhaled. To protect yourself from drywall dust hazards, always wear a NIOSH-approved respirator, not a dust mask-real testers found P100 filters block 99.97% of fine particles. Pair it with safety goggles to prevent eye irritation and nitrile gloves to avoid skin reactions. Contain dust at the source by sealing vents, doors, and windows with plastic sheeting and painter’s tape. Skip the shop vacuum-use a HEPA-filter vacuum to trap harmful particles instead of blowing them into the air. These steps keep your air clean, your tools safe, and your health protected.
Use the Right Tools to Clean Drywall Dust
Since drywall dust spreads easily and clings to surfaces, having the right tools on hand makes all the difference in getting a clean, paint-ready finish. Use a HEPA vacuum with a brush attachment-regular vacuums clog fast and risk damage. For high and wide walls, wrap a microfiber cloth around a broom with a rubber band to make a DIY damp rag that grabs dust without smearing. When smoothing seams, an orbital drywall sander with a built-in dust extraction system cuts airborne mess by up to 80%. Tackle lingering particles by misting walls lightly with a paint sprayer filled with water-the fine spray makes dust clump and settle fast. Skip flimsy drop cloths; seal heavy-duty plastic sheeting with painter’s tape to trap debris, protect floors, and simplify cleanup.
Wash Walls With Water to Eliminate Dust Fast
If you want to clear drywall dust fast and get walls truly ready for paint, washing them down with water is one of the most effective steps you can take. Use a paint sprayer-or even a $10 garden sprayer-to apply water evenly across drywall surfaces, wetting them thoroughly without oversaturation. The joint compound absorbs water quickly, dissolving dust and leaving walls spotless in minutes. Unlike brushing or using barely damp rags, this method removes every trace of dust efficiently. Pros confirm it’s a game-changer on job sites, cutting cleanup time dramatically. Heavier moisture guarantees complete dust removal, and because drywall dries so fast, you won’t risk damage. Testers report walls feel smooth and look cleaner than with any cloth wipe-down. It’s fast, cheap, and works immediately-no waiting, no residue. This step makes priming and painting smoother, giving you a flawless finish every time.
How to Safely Wet Drywall Without Damage
A light, even spray of water does the trick when prepping drywall, but doing it right means hitting the sweet spot between too dry and too wet. You want to mist the surface evenly with a paint or garden sprayer-just enough to dampen it, not soak it. When the compound absorbs the water, it rebinds loose dust into the surface, creating a solid base. This method keeps the drywall paper safe from tears or bubbles, unlike wiping with a damp rag, which can smear compound and ruin your finish. Avoid oversaturating; wet walls that drip or pool can swell or weaken the paper. Let the mist set for a few minutes, then allow the wall to dry completely before priming. A quality PVA primer seals everything, protects against sanding damage, and guarantees paint adheres perfectly.
Reach High Walls and Ceilings Without a Ladder
Skip the ladder and get full coverage on high walls and ceilings with a simple, pro-tested tool: a microfiber towel wrapped securely around a broom handle using a rubber band. You’ll remove the dust efficiently while staying safe-no wobbly climbs or constant repositioning. A dry or slightly damp microfiber cloth grabs drywall dust on contact, preventing it from swirling back into the air. This method’s ideal for vaulted ceilings or large rooms where ladder work slows you down. It’s especially helpful after sanding joints, where leftover compound or drywall mud creates fine, sticky dust. Professionals like Sara Middleton use it to prep entire rooms before priming, proving its reach and reliability. You maintain stability, protect your floor and surfaces from debris, and avoid strain on your back and shoulders. No need for expensive poles-just a broom, rubber band, and cloth. It’s practical, fast, and effective.
Clean Immediately After Sanding: Don’t Wait
Though you might be tempted to take a break after sanding, cleaning up drywall dust right away keeps it from embedding into the compound or spreading through your space, where it can settle into corners, HVAC vents, and even nearby rooms. You should clean immediately after sanding to avoid rework and contamination. Drywall finishers know this-they don’t wait, tackling dust while it’s still manageable. Use a HEPA vacuum to capture fine particles efficiently, preventing clogs and protecting your air quality.
| Method | Effectiveness |
|---|---|
| HEPA vacuum | 99.97% @ 0.3µm |
| Dry dusting | Low |
| Air mover + sweep | Moderate |
| Wet microfiber | High |
Start from the ceiling and work down, combining a soft-bristled brush with your HEPA vacuum to trap dust without spreading it. This guarantees smooth priming and cuts strain later.
On a final note
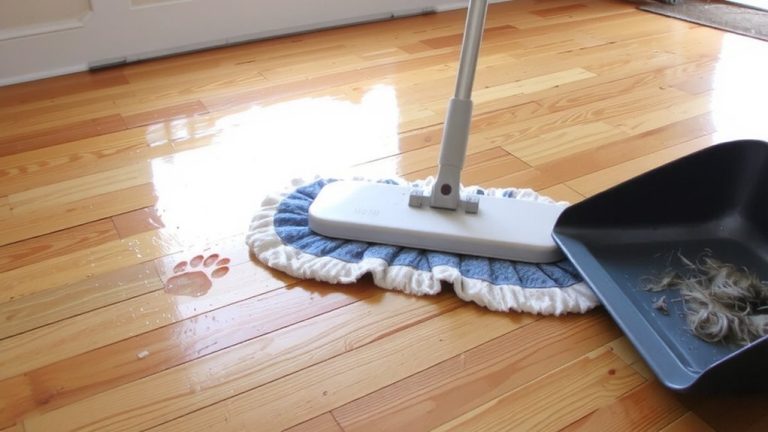
Wipe floors with a microfiber mop and TSP solution (1/4 cup per gallon of water) to lift dust fast, then vacuum seams with a HEPA filter. Tack cloths remove final particles from walls, ensuring paint adheres smoothly. Don’t skip damp wiping ceilings-use an extension pole with a lint-free pad. Clean within hours of sanding; waiting 24+ hours lets dust settle into outlets and trim, increasing strain and attracting pests.