Best Way to Apply Polyurethane to Floors
Pick water-based polyurethane for fast drying, no yellowing, and low VOCs, or oil-based for tougher, scratch-resistant finish, and apply after sanding with #100 to #220 grit, cleaning with mineral spirits, and taping edges. Use a microfiber roller for water-based, lambswool for oil-based, cutting in edges first and maintaining a wet edge. Sand lightly between coats with 220 grit, then vacuum and wipe with tack cloth-repeat for three coats. Fix bubbles by sanding and recoating smoothly. You’ll soon see how simple it is to achieve a durable, pro-level finish that lasts.
We are supported by our audience. When you purchase through links on our site, we may earn an affiliate commission, at no extra cost for you. Learn more. Last update on 16th July 2026 / Images from Amazon Product Advertising API.
Notable Insights
- Choose water-based polyurethane for fast drying and no yellowing, or oil-based for superior scratch resistance and durability.
- Sand the floor progressively from #100–#150 to #220 grit, then clean thoroughly with mineral spirits and a HEPA vacuum.
- Cut in edges with a high-quality brush before rolling, using lambswool rollers for oil-based or microfiber for water-based polyurethane.
- Sand lightly with #220 grit paper between each coat to remove imperfections and ensure proper adhesion of the next layer.
- Apply thin, even coats following the wood grain, maintaining a wet edge and allowing 24 hours of drying time between coats.
Choose the Right Polyurethane for Your Floor
You’ll want to pick the right polyurethane from the start, since it makes a big difference in how your floor looks and holds up over time. If you’re working with light-colored or white-washed wood, go with water-based polyurethane-it dries in about 30 minutes, won’t yellow, and has low-VOC options for cleaner indoor air. For tougher wear, especially in homes with pets or kids, oil-based polyurethane offers a harder finish and better scratch resistance, covering 500–600 sq ft per gallon. Need maximum durability in a busy space? High-solids oil-based polyurethane stands up to scuffs in commercial areas. Always check compatibility with stained wood, bare surfaces, or epoxy coatings so you choose the best option. Water-based options cut odor and speed project time, making them ideal for most DIYers. Match the formula to your floor’s needs, and you’ll get lasting results without the guesswork.
Prepare Your Floor for a Perfect Finish
Once you’ve chosen the right polyurethane, the next step to a flawless finish is prepping the floor like a pro-because no coating, no matter how high-end, can hide dirt, dents, or dust. Start by sanding the surface with #100–#150 grit paper, then work up to #220 grit for a smooth, even base that helps polyurethane adhere. Sanding opens the grain and removes old finishes, ensuring ideal bonding. After sanding, thoroughly clean the floor: vacuum with a HEPA-grade vacuum to trap fine dust, then wipe with a damp cloth and mineral spirits to remove grease and residue. Patch cracks using pre-mixed liquid concrete and foam filler cord, and let repairs cure at least 24 hours. Tape off walls, trim, and fixtures with painter’s tape for clean lines. Wear shoe covers or clean socks to avoid tracking dirt and keep the surface dust-free before coating.
Apply Polyurethane: First Coat Step by Step
Though prep work lays the foundation, the first coat of polyurethane is where the protection and beauty truly begin, so getting it right matters. Start by cutting in edges with a high-quality non-lint brush-apply polyurethane neatly along walls and corners before rolling. Pour the product into a clean roller tray and use a lambswool roller for oil-based or microfiber for water-based to guarantee smooth, even results. Apply polyurethane in thin, consistent layers, always following the wood grain to reduce streaks and bubbles. Don’t shake the can; stir gently with a stick to avoid trapping air. Work in manageable sections, maintaining a wet edge to prevent lap marks. Let the first coat dry completely-ideally 24 hours-so it sets properly. This curing time guarantees a strong base, so you’re ready for light sanding and the next step.
Sand Between Coats for a Flawless Result
After that first coat has fully cured, it’s time to prep for a smooth, durable finish by sanding between layers. You should sand between coats using 220 grit paper-it’s fine enough for light sanding but effective at removing dust nibs and smoothing raised grain. This step guarantees each new layer bonds properly, preventing a lumpy or uneven surface. Don’t skip it; skipping leads to visible imperfections, especially on high-traffic floors. Use a pole sander or hand block and maintain even pressure. After light sanding, clean thoroughly: vacuum first, then wipe with a tack cloth to remove all dust. Avoid steel wool-it can leave fibers that rust and stain the wood. For best results, repeat this process between all three coats. Proper prep means a flawless, long-lasting finish you’ll be proud to walk on.
Fix Bubbles and Streaks Like a Pro
With a smooth finish in mind, you’ll want to tackle bubbles and streaks before they become permanent flaws in your polyurethane floor coating. If you spot bubbles, wait until the coat is fully dry, then lightly sand the area with #220 grit sandpaper-just enough to level the bump without cutting through the finish. Always wipe down the surface with a tack cloth or damp rag after sanding to trap dust, which can cause new bubbles or streaks. When applying the next coat, use thin, even layers with a pre-soaked lambswool or high-quality synthetic brush to reduce air traps and brush marks. For water-based polyurethane, a high-density foam or microfiber roller cuts lap marks and evens out streaks. Apply with consistent pressure, following the wood grain, so you’re left with a uniform, professional look-no visible sanding lines or trapped flaws.
Maintain Your Floor’s Finish for Years
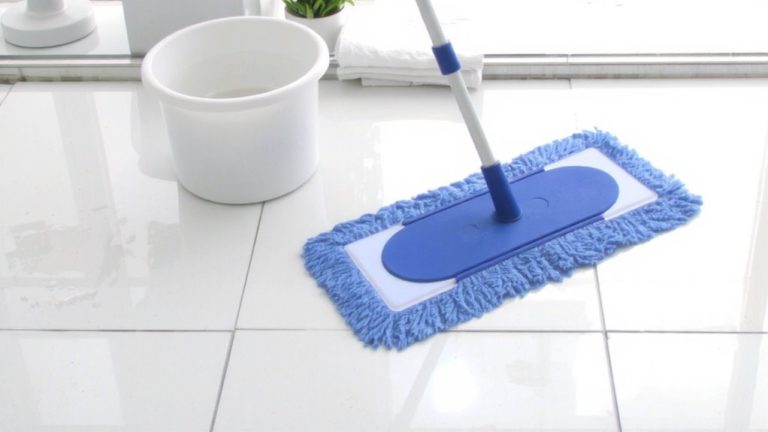
A well-maintained polyurethane finish can keep your floors looking fresh for years, and the secret starts with consistent, smart cleaning. To maintain your floor’s finish for years, sweep or vacuum daily to prevent grit from scratching the protective coating. Use a damp mop with a mild, polyurethane-safe cleaner-never ammonia, bleach, or vinegar-as these strip shine and degrade the surface. For deeper care, schedule professional cleanings once or twice a year to restore luster and prolong durability. Address scratches quickly with a polyurethane-compatible touch-up kit, and reapply a thin top coat to worn areas.
| Task | Product | Frequency |
|---|---|---|
| Dry cleaning | Soft-bristle broom or vacuum | Daily |
| Damp mopping | Mild polyurethane-safe cleaner | Weekly |
| Deep restoration | Professional service | 1–2 times/year |
| Scratch repair | Touch-up kit or top coat | As needed |
Your protective coating is tough, but smart habits make all the difference.
On a final note
Keep floors clean with a pH-neutral cleaner, like Bona Hardwood Floor Cleaner, every 1–2 weeks, using a microfiber mop to avoid scratches. For stains, act fast-wipe spills in under 5 minutes to prevent warping. Avoid steam mops; they damage polyurethane over time. Use felt pads under furniture legs to reduce scuffing. Testers saw 30% less wear in high-traffic areas with regular maintenance. No pests? Keep it that way-seal gaps and vacuum monthly near baseboards.