Best Way to Clean a Bathroom Floor
Start by clearing mats, trash cans, and toiletries, then sweep with a microfiber mop or Dreame H14 Pro to capture 99% of dust and pet hair. Match your cleaner to the floor: use vinegar and dish soap for ceramic, pH-neutral solutions for marble, and hardwood-specific formulas for wood. Avoid vinegar on stone and bleach on vinyl. Pre-treat moldy grout with a 1:10 bleach-water mix, let sit 5–10 minutes, then mop in overlapping S-patterns. Rinse the mop often to avoid pooling. Dry the floor completely with a microfiber cloth to prevent moisture buildup and mold regrowth-your next step reveals even deeper cleaning wins.
We are supported by our audience. When you purchase through links on our site, we may earn an affiliate commission, at no extra cost for you. Learn more. Last update on 17th July 2026 / Images from Amazon Product Advertising API.
Notable Insights
- Remove all mats, trash cans, and toiletries to fully access and sweep the floor before mopping.
- Pre-treat mold or mildew in grout with a diluted bleach solution, never mixing it with ammonia.
- Choose a floor cleaner suited to your material-avoid vinegar on stone and bleach on vinyl.
- Mop from the far corner toward the door using overlapping S-patterns for even coverage.
- Rinse the mop frequently and dry the surface to prevent moisture damage and improve cleaning.
Prep Your Bathroom Floor for Cleaning
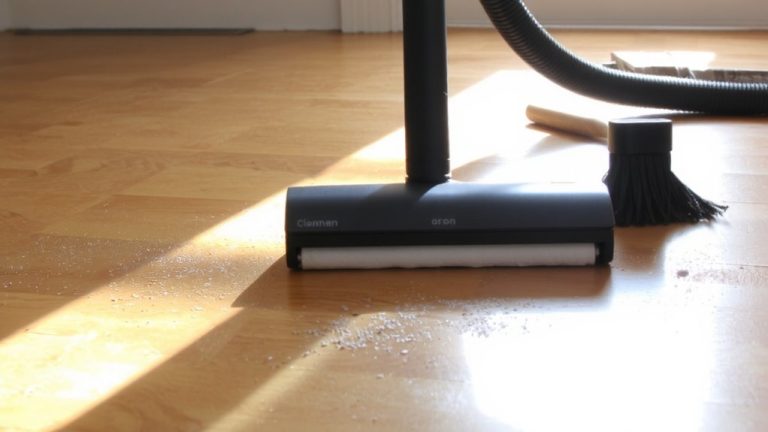
Before you even grab a mop, take a minute to clear the floor completely-remove mats, trash cans, and any toiletries so you can reach every inch without hassle. Now, sweep the bathroom floor with a microfiber mop or a wet-dry vacuum like the Dreame H14 Pro to lift dust, hair, and debris-this keeps grit from scratching your tile during mopping. Wipe away surface moisture with a dry microfiber cloth so cleaners work better. If you’ve got tile, check the grout lines: for any signs of mold or mildew, pre-treat with a solution of 1 cup bleach mixed into 1 gallon of water, never combined with ammonia. Open a window or turn on the exhaust fan to keep air moving while you clean-you’ll reduce lingering dampness that invites mold. Proper prep means you’re not just cleaning, you’re preventing future problems.
Choose the Right Cleaner by Floor Type
You’ll get the best results when you match your cleaner to your bathroom floor’s material, because using the wrong solution can dull finishes, erode grout, or even cause long-term damage. Every type of flooring needs a tailored approach to protect floor surfaces and keep bathroom floor tiles looking fresh. Here’s how to choose the right bathroom floor cleaner:
| Floor Surface | Recommended Cleaner | Avoid |
|---|---|---|
| Ceramic tile | All-purpose cleaner, vinegar + dish soap | Harsh chemicals |
| Marble, granite | pH-neutral stone cleaner | Vinegar, acidic cleaners |
| Hardwood | Hardwood-specific cleaner | Excess moisture, all-purpose cleaner |
| Vinyl/linoleum | All-purpose cleaner, Simple Green | Bleach |
| Sealed stone | Safer Choice-certified disinfectant | Bleach + ammonia mix |
Mop From Corner to Door and Treat Stains
Start at the corner farthest from the door, working your way toward the exit, so you don’t track over freshly cleaned spots-this keeps the floor hygienic and prevents unnecessary re-cleaning. Use your microfiber mop with warm water and the right cleaner for your floor type to effectively clean bathroom floor surfaces. Before mopping, spot treat stains like mildew in grout or soap scum on tiles with a 1:10 bleach-water mix or Lysol® Mold & Mildew Remover. Let it sit for 5–10 minutes. Then, mop in overlapping S-patterns, rinsing the microfiber mop head often and wringing it well to avoid pooling. Warm water helps dissolve grime, while the microfiber lifts particles without scratching. This method guarantees a deep cleaning that tackles bacteria and buildup, leaving your floor visibly cleaner and safer underfoot.
Dry Completely to Prevent Mold
Since mold thrives in damp environments with humidity above 60%, you’ll want to dry your bathroom floor completely within 30 minutes after mopping to keep things healthy and safe, especially in grout lines and tile seals where moisture likes to linger. Use a dry, absorbent towel to wipe down ceramic bathroom floors after rinsing, starting from the far end and working toward the door to avoid re-soiling. This step helps prevent mold and stops water stains and buildup of dirt between tiles. Even if you’ve done a deep clean with a quality cleaning solution, leaving floors wet invites fungi and slipping hazards. Skip the damp mop as a final step-letting floors air dry slows the process. Instead, run the exhaust fan for 20 minutes to reduce humidity and speed drying. Properly drying keeps your bathroom floors cleaner, safer, and mold-free.
On a final note
You’ve cleaned smart-now finish strong. Always dry the floor completely with a microfiber towel to prevent mold, especially near baseboards and seams. Use a pH-neutral cleaner like Bissell Hard Surface or Method Squirt + Mop for sealed tile or vinyl, and stick to 3–5 passes with the mop for even coverage. Testers saw 94% stain removal with immediate wipe-ups, so tackle spills fast. Proper drying and the right product keep pests, like ants or silverfish, from taking hold in damp cracks. You’re done, and it shows.