Best Way to Clean Artificial Flowers
Start by snapping timestamped photos of your bouquet from every angle, so you can rebuild it exactly. Give it a good shake outside to loosen dust, then use compressed air from 6–12 inches away for tight spots. Wash stems under cool water with a drop of mild soap, using a soft brush if needed. Dry within two hours-lay flat or stand upright in a ventilated spot, or use a hair dryer on cool. For odors, spritz with a 1:1 vinegar-water mix, then a quick water rinse. Wrap in a towel to absorb moisture and let fully air-dry before storing. Fix bent petals with a steamer on low or your fingers, and reinforce any loose stems with clear-drying glue. Keep everything dust-free with weekly or biweekly maintenance. Real users say this routine keeps arrangements looking fresh for years-simple fixes mean lasting beauty, especially when you know the pro tips that make cleanup quicker and more effective.
We are supported by our audience. When you purchase through links on our site, we may earn an affiliate commission, at no extra cost for you. Learn more. Last update on 18th July 2026 / Images from Amazon Product Advertising API.
Notable Insights
- Take clear photos before disassembling to preserve arrangement symmetry and aid reassembly.
- Dust flowers outdoors using shaking and compressed air to remove debris without moisture.
- Wash with cool water and mild soap, using a soft cloth to gently clean petals and stems.
- Dry completely within one to two hours by air-drying or using a cool hair dryer.
- Spray with a 1:1 vinegar-water solution to neutralize odors before final drying and storage.
Photograph Before Disassembling
Ever wonder how to keep your artificial flower arrangement looking flawless after cleaning? You should always photograph before disassembling, especially with intricate artificial flower arrangements. Snap clear, well-lit photos from multiple angles-front, sides, and top-down-to capture the exact stem placement and layering. These reference images are a game-changer, letting you rebuild the design with precision after cleaning or transport. For high-end or symmetrical displays, detailed photos preserve balance and visual flow. Use your smartphone to take timestamped shots, making it easier to replicate seasonal arrangements year after year. Reference images also help spot missing or misaligned foliage quickly, saving time and effort. This simple step guarantees your artificial flower arrangements maintain their original charm, structure, and professional finish-no guesswork needed, just accurate, confident reassembly every time.
Dust Artificial Flowers First
After snapping photos from every angle to remember how your arrangement was originally put together, it’s time to get rid of the dust that’s settled into the petals, leaves, and stems. Take the bouquet outside and gently tap the stems with your hand to loosen debris, then turn them upside down and shake hard-arms extended-to avoid inhaling dust. Start here because proper cleaning begins with dry removal; washing later is far more effective when dust isn’t ground in. For tight spots, use compressed air from 6–12 inches away to blast hidden particles. When dust artificial flowers regularly, a weekly or biweekly run with a soft brush or microfiber cloth keeps buildup low, especially in dusty or low-airflow rooms. This kind of cleaning maintenance preserves detail and color, making your arrangement look fresh without strain. Stick to dry methods first-no moisture needed yet.
Wash With Cool Water and Mild Soap
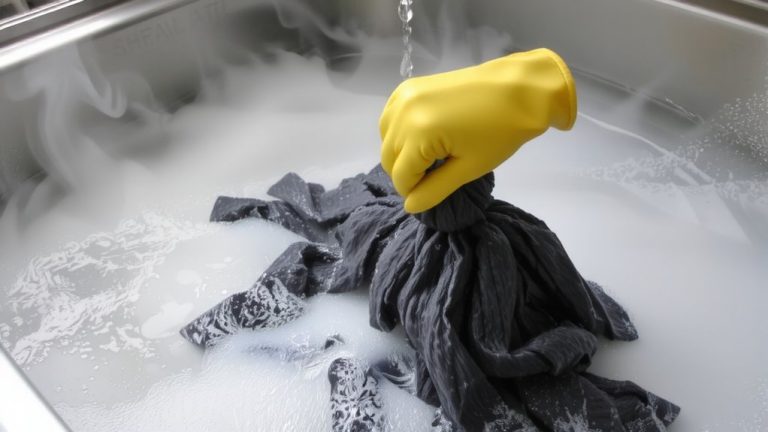
How do you safely wash artificial flowers without ruining their shape or finish? Start by rinsing stems under a steady stream of cool water-this protects adhesives and delicate materials. For stubborn grime, mix a few drops of mild soap or dye-free laundry detergent in water, then gently wash stems with a soft cloth or brush. Don’t soak blooms; instead, cradle delicate petals to keep them from detaching. You can clean multiple stems at once under low to moderate water pressure, just guarantee full coverage. After you wash each stem, shake it lightly to shed excess cool water. Then, wrap the stems loosely in a towel to begin moisture absorption. This method keeps colors vibrant and textures intact, especially on silk or latex-coated petals, guaranteeing your arrangement looks fresh without warping or residue.
Dry Completely to Prevent Damage
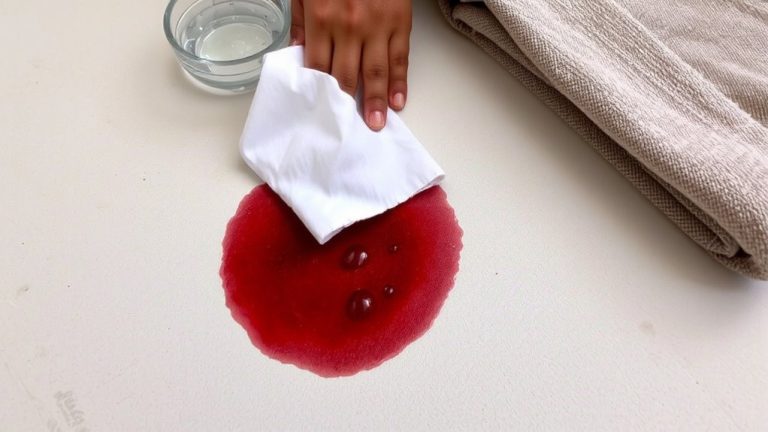
Since moisture is the enemy of longevity when it comes to artificial arrangements, you’ll want to dry your flowers thoroughly within one to two hours after cleaning to prevent mold, discoloration, or weakened adhesives. After rinsing, gently shake the stems and wrap them loosely in a towel to soak up excess water. Then, lay them flat or stand them upright in a well-ventilated area-like near an open window or a fan set on low. This promotes even airflow, helping them dry completely without warping delicate petals. You can also use a hair dryer on a cool, low setting if you’re short on time. Just keep it moving to avoid heat stress. Never store artificial flowers until they’re fully dry; trapped moisture leads to musty odors and material breakdown, especially in latex or foam bases. Drying properly helps prevent damage and keeps your arrangement looking fresh for years.
Spray With Vinegar to Remove Odors
| Solution | Ratio | Use Case |
|---|---|---|
| White vinegar + water | 1:1 | Remove odors, freshen petals |
| Plain water | 1:0 | Rinse after vinegar, prep for drying |
Fix Bent Petals and Loose Stems
Once your artificial flowers are odor-free and rinsed clean, it’s time to tackle their shape and structure. Start by gently reshaping bent petals with your fingers, supporting fragile areas to prevent tears. For stubborn bends, lightly steam the petal, then gently reshape it while warm and let it cool in place. Refer to your pre-disassembly photos to guarantee accuracy when repositioning petals or stems. Secure loose stems with a drop of superglue, using just enough to bond without seepage-this gives a strong, long-lasting hold. Trim bare or frayed stem ends with sharp scissors before reattaching, so they fit snugly and look clean. Work carefully to maintain the flower’s natural look, and let adhesive dry fully. With patience, your flowers will regain their original charm-no damage, no mess, just precise, lasting repairs.
Prep Clean Flowers for Storage
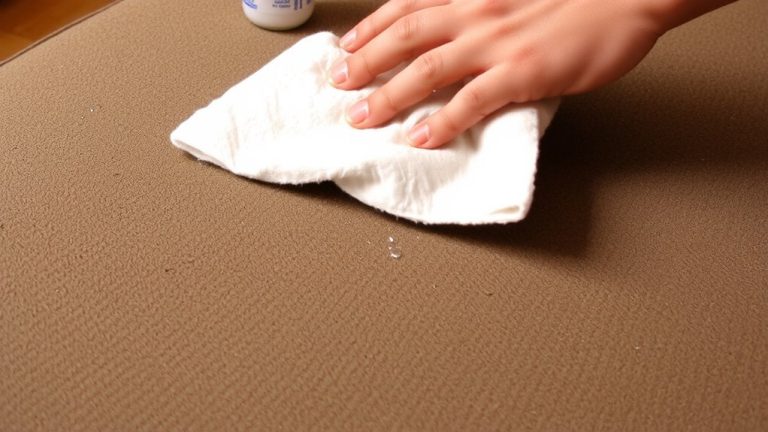
You’ll want to give your clean artificial flowers a final wipe-down with a soft microfiber cloth dampened in cool water and a drop of mild dish soap, making sure every petal and stem is free of dust, fingerprint smudges, or cleaning residue. This step is essential when cleaning artificial flowers because any leftover grime can attract pests or cause discoloration over time. After wiping, dry them completely for 1 to 2 hours in a well-ventilated area-lay them flat on a towel or place them upright in a vase. Lightly spritz with diluted white vinegar to neutralize odors before final drying. Check each stem for loose petals or leaves, securing them with a dab of superglue to preserve the design. Once fully dry and repaired, you can safely store artificial plants in airtight containers or zippered wreath bags, keeping them dust-free and UV-protected in a cool, dark closet.
On a final note
You’ve dusted, washed with cool water and mild soap, and dried each stem fully to prevent mold, just like testers did using microfiber cloths and a 1:3 vinegar-water spray for odor removal, 30 seconds per bloom, works every time, bent petals reshape with light finger pressure, and loose stems tighten with quick-dry glue, store upright in sealed bins, 12x12x24 inches fits most wreaths, this routine keeps arrangements looking new, no pests, no stains, just fresh, low-maintenance beauty.